First off let's talk about black and white. I will start off by saying that I hate it. I really do. It is easy to make anything look good in black and white. For an experienced photographer black and white is an amazing tool. For the beginner it does nothing other than train the person to care less about the shot they are taking. A mind set that will cost later when using color film.
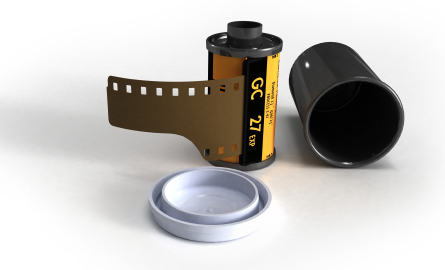
Color negative film is what I love. A roll of color film mixed with a good eye can produce a masterpiece. Each film brand has a life of its own. From Kodak to Fujifilm, each represents color differently. So look around, experiment and try to find that brand you love. Color negative is the film that you want to start with. It is cheap and plentiful. A run to your local Walgreens is all you need to get the film you need.
Color reversal film is similar to color negative film but with one major difference. While color negative film produced the familiar yellow toned slides; color negative film produces full color negatives. These are what they used in the old time projectors. This film, like black and white film, is only going to be available through specialty shops. For a better description of color reversal film I would suggest taking a look at this.
When you buy your film, look out for expired films. The chemicals inside a film canister slowly degrades over time, and is accelerated with heat. While expired film can give some amazing results; but also some very bad ones. make sure you note how old your film is and where it is kept. Keep your film cool, some keep film in the refrigerator to prevent degradation. I would suggest when starting, always use film that is fresh. Once you get a handle on how to use your camera, start experimenting with film that is older, you may like what you see.
Now we come down to it. The basics of film type has been discussed. But let's take a look at another important aspect of film, speed. There are many "speeds" but in truth speed is just another way to refer to iso. Iso is a measure of a films sensitivity to light. The lower the number the less light sensitive that film is. On the back of a film box you may read that 100 speed film is for outdoor photography, 400 for all occasions and 800 for indoor shooting. This will give you a good place to start, but following this blindly will leave you in the doghouse.

The basics of this is true. If you are using a point and shoot, this is something you will need to follow to the letter. 100 speed film, being insensitive to light is going to work well in bright light; while using it indoors will produce very dark images. But we are using SLR cameras here. We have options. With all of the options that even bottom of the barrel SLR cameras have. You will be able to manipulate different shooting factors to make any of these film speeds work in almost any situation. I would recommend you purchase 100 speed film. As your speed, or iso, raises your photo will gain more noise. A lower speed film will produce far less noise. We do not want noise. Noise is ugly. So I say buy low speed film and if you need to shoot in low light situations either manually change the iso on your camera or bring down your f/stop (we will go into that later)

Of course what kind of rundown would this be without talking about development. I will be honest, I do not develop my own film. I go to walgreens to get my film developed. It may cost a little bit, but it is worth it. The one thing that is nice about taking film in for processing is that they can put the pictures directly onto a CD. Instead of requesting prints, ask the technician to put the photographs onto a disk so that you can take them home and do some post processing on the computer.
There you have it, a little diddy on film. Later we will take a look at some basic camera settings.
This post available on NoiseShot.com
ReplyDelete